Today we have a special guess Patrick Doty he's on the Dust Tactics - Official Facebook Page and has his own DT FB page.
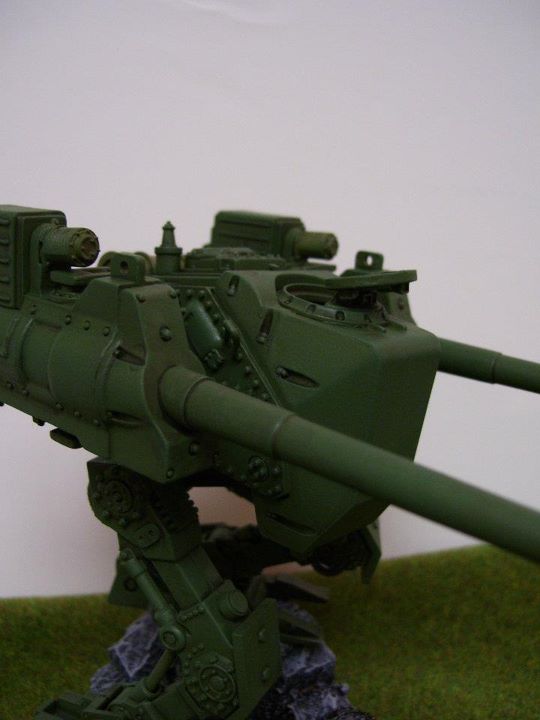
#1 primer black. When dry, over coat with Army Painter
British Armour.
#2 Give the whole model an even coat of GW's Knarloc Green.
Spray it on if you've got the means to do so.
#3 give the whole thing a good wash of GW's Devlan Mud.
#4 Once the wash is dry, go back and dry brush it with
Knarloc Green.
#5 Now add a little (75/25) GW Sunburst yellow to the
Knarlock and dry brush that on.
#6 Add some more Sunburst Yellow. Dont just concentrate on
the raised surfaces but give the large flat areas, especially those on the
front, an drybrush in the center of the panels.
#7 Add decals. You want to this before weathering. I paint
on some gloss varnish, I used GW's, before applying the decal. This helps avoid
'silvering'. Also give the stars on the ammo hopers a coat of GW Mecharite Red
followed by GW's Blood Red.
#8 Paint the fuel tank looking things GW Bestial Brown and
follow that by stipling GW's Blazeing Orange over it. I'm going for a real
rusted out look. Paint the exposed metal bits (piston arms, cables, etc.) GW
chaos black.
#9 Add a little GW bleached bone to the Blazeing Orange and
stipple that on. When dry, give it a wash of Devlan Mud.
#10 Chipping. Take a bit of sponge and shape it into a
wedge. A trimmed piece of Battle Foam worked for me. Dip it in Vallejo German
Grey and dab off the excess and then apply to the areas that would get naturaly
worn.
#11 Another view of the chipping.
#12 Paint the exposed metal bits with GW Boltgun and then
was it with GW Badab Black.
#13 another view of the metal bits.
#14 Dry brush chaos black onto the gun ends, the air intake
fan on top of the 'bot, and any other ports that need it.
#15 Stiple on some bolt gun onto the fuel cans and paint the
retaining straps the same way as you did the metal bits.
#16 On the ammo hopers are what look like exhaust ports. I
painted them up like the rest of the metal but then covered about 3/4 of the
boltgun with GW's Dwarf bronze, I then covered 1/2 of that with GW's Tin Bitz
and painted chaos black over about 1/2 of the Tin Bitz. I also painted a bit of
boltgun into the middle of some patches of the chipped paint to make it look
like bare metal showing though.
#17 I used Vallejo pigments Brown Oxide and rubbing alcohol
to wash the pigment into the reccesses of the model in select areas.
#18 View with a flash, you can see where the pigment was
applied a bit better.
#19 Another view.
#20 the finnished model. I drybrushed a bit of GW's
Graveyard Earth onto lower panels and around the feet but kept it sparse as
this 'bot will be operating in urban setting. I sealed the whole thing with
Testor's Dulecote.
#21 The fuel cans done. Prolly a bit overboard but I like
the contrast.
#22 The base
#23 The base, you can see some of the Graveyard here.
#24
#25
#26
#27
#28
#29
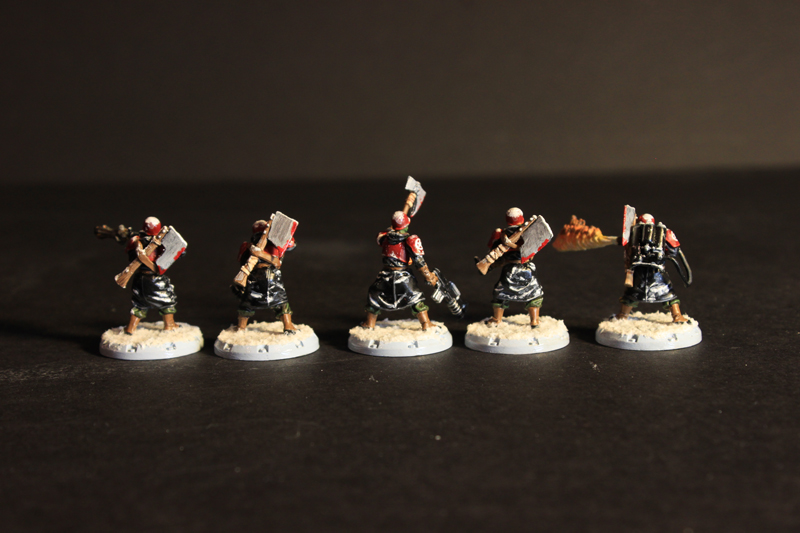
#30 Time to repel the facist invaders from mother Russia!
Uraghhhhh!
Thanks Patrick with this awesome tutorial.